Introduction
In the modern information age, there are numerous laws which affect the collection and storage of digital data. These laws often reference security standards that define specific methods of collection, the manner of storage, and other requirements that companies must follow. These regulations and laws are typically industry specific.
The primary purpose of these laws is to create a base line of rules for companies that collect data on consumers. They outline security protocols that must be followed to keep data safe. For example, a customer’s username and password must be encrypted.
These rules are collectively known as security frameworks, security standards, regulatory & compliance requirements, among other names.
Common governing laws
- GLBA (Gramm, Leach, Bliley Act) – Financial data.
- CFPB (Consumer Protection Financial Bureau) – Financial data.
- HIPAA (Health Insurance Portability Accountability Act) – Medical data.
- GDPR (General Data Protection Regulation) – European consumers.
- PCI DSS (Payment Card Industry Data Security Standards) – Financial data.
- ISO 27001 – Information Security Management Systems. – Federal data.
- FIPS (Federal Information Processing Standard) – Cryptography guidelines.
- FERPA (Family Educational Rights and Privacy Act) – Educational records.
Top cyber security frameworks (standards)
- NIST Cyber Security Framework (NIST CSF 2.0) – Most common.
- CIS Center Internet Security (Critical Security Controls).
- PCI-DSS – Payment Card Industry Data Security Standards.
- SOC2 – Systems and Organizational Controls. (Cert Pub Accountants).
- ISO 27001 – Information Security. Generally for Fed Agencies.
Best security practices (basic outline)
Each framework will provide exact details, but there is a lot of overlap. Here is a general list of what to expect.
- Governance & Risk
- Maintain a risk assessment list. Update annually.
- Establish a cyber security governance framework (NIST CSF 2.0 or CIS).
- Ensure policies are written and enforced.
- Establish supply chain risk management program.
- Identify & Access
- Implement MFA, 12 character & password rotation.
- Delete unused accounts.
- Just in time access for elevated roles.
- Written job descriptions & RBAC permissions.
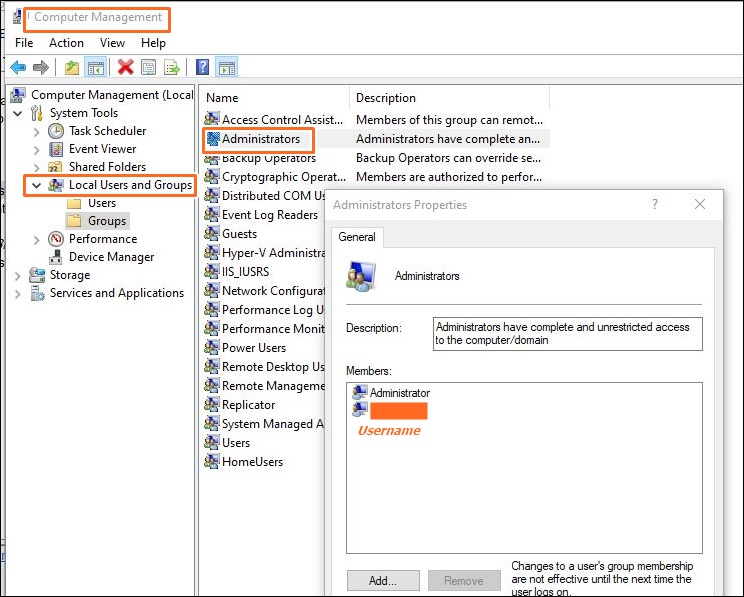
- Limit number of global administrators, no local administrators.
- Network & Infrastructure
- Subnet the environment properly.
- Conduct an annual firewall review.
- Enforce internet filtering for end users (DNS filtering).
- Create a golden image for new hosts.
- Asset management (maintain a list of assets). Include cloud assets.
- Endpoint & Data Security
- Create an approved software list.
- Patch and vulnerability program.
- Endpoint Protection (virus software, XDR/EDR).
- Data Protection & Encryption (enforce at rest and in transit).
- Application security (scan your code, pen testing).
- Continuous Monitoring & Response
- Centralized logging & SIEM.
- Integrate threat intel feeds & monitoring for zero day.
- Make an incident response plan. Test with table top exercise.
- Employee Training – phishing simulation.
- Business Continuity & Compliance
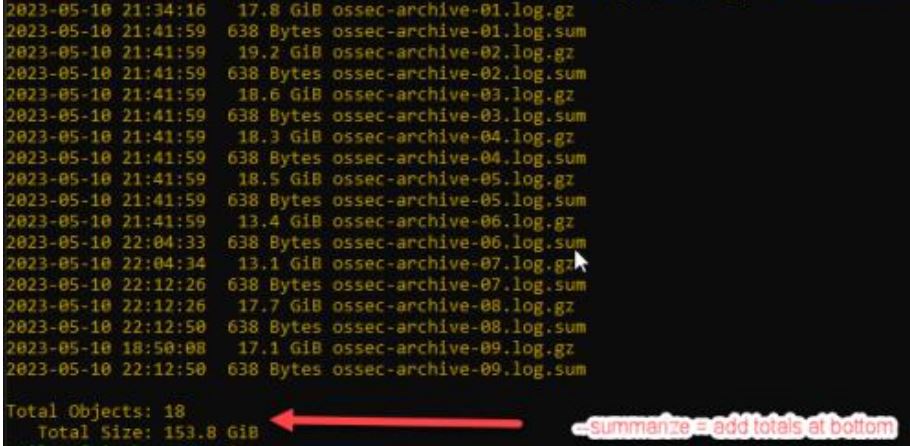
- Backups & Disaster Recovery Plan
- Application security testing.
- Compliance mapping. Ensure controls meet SOC2, PCI, HIPPA, etc.
- Executive reporting & metrics. (risk dashboard, audit results, etc.)